MuralSplash Kitchen Backsplashes
Transform your kitchen with style and ease!
Are you planning to renovate your kitchen or give it that extra touch? Then a MuralSplash kitchen backsplash is perfect for you! And the best part is that you can have it installed within 15 minutes. Do you want to learn more about our kitchen backsplashes? Read on…
- Self-adhesive, scratch-resistant, and water-repellent;
- Quick and easy to install; (15 minutes);
- Choice between matte or glossy finish;
Popular backsplashes
Still not quite what you were looking for?
Search for your perfect design below, with hundreds of kitchen wall types to choose from, there’s always something for you.
Customised kitchen backsplash with your own photo
Order customised photo wallpapers from your own photo. We check the quality free of charge and report back if it is not satisfactory.
What Is MuralSplash?
MuralSplash is specially designed as wallpaper for spaces like kitchens or bathrooms. The wallpaper is self-adhesive, making it easy to install and remove, making it reusable.
Matte or Glossy
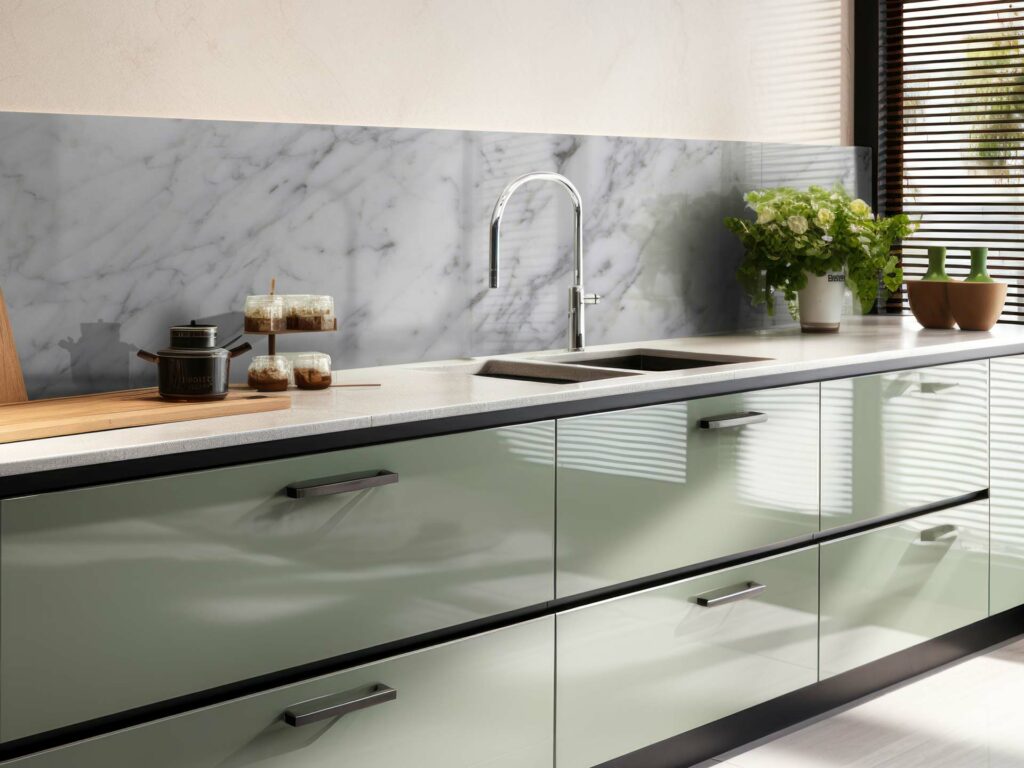
The wallpaper is available with a matte or glossy finish. The glossy finish creates a reflective effect similar to wall tiles, which is often chosen for marble prints. If you don’t want a shiny, reflective effect on your backsplash, opt for the matte variant of MuralSplash.
Benefits of MuralSplash Backsplashes
- Customizable and easy to trim;
- Scratch-resistant and water-repellent;
- Resistant to splatters, even from frying!
- Easy to clean with a damp cloth;
- Choice between matte or glossy finish;
- PVC-free product, eco-friendly
- Odorless wallpaper, printed with water-based ink;
- Quick and easy to install;
- Reusable and easy to remove;
- UV-light resistant;
- Fire-resistant wallpaper (B1 certificate).
Frequently Asked Questions
The most common questions and answers about installing a kitchen backsplash.
How Do I Apply MuralSplash?
The material has adhesive on the back. To apply your MuralSplash, remove a portion of the protective plastic from the adhesive side.
Start either in the top left or top right corner. If you ordered the wallpaper with extra margin (2-5 cm extra all around), make sure to leave a bit on both the sides and the top. You can trim this later with a knife. This ensures that the wallpaper fits neatly on the wall even if your wall is uneven.
Can I Apply MuralSplash in Strips?
MuralSplash comes in one piece. Because the material is laminated, it is thicker than regular wallpaper, making it challenging to butt together seamlessly. Therefore, we advise against using it in strips.
If you have a larger space that you want to cover with water-repellent wallpaper, consider ordering non-woven wallpaper and adding a WallFinish. This will also make your wallpaper scratch-resistant and water-repellent.
How Do I Cut MuralSplash to Size?
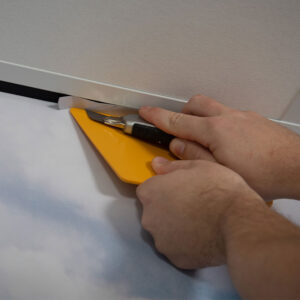
After attaching the material to your wall, you can easily trim it to size with a cutting ruler and a sharp knife. Place the cutting ruler tightly against the edge, and then cut the material to fit.
How Do I Determine the Size I Need?
MuralSplash is delivered custom-made. You decide the size of your wallpaper. However, there is a maximum height or width, which is 116 cm. Since most kitchen backsplashes are 50 to 70 cm high, this is sufficient for most situations.
If you need a larger surface, it’s best to choose non-woven wallpaper or MuralTex.
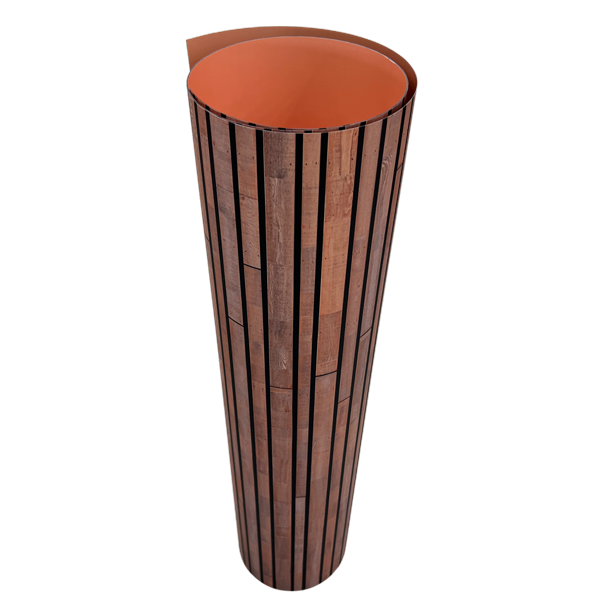
Compactly Delivered on a Roll
The kitchen backsplash material is delivered on a roll, making it easy to ship.
Do I Need Glue for MuralSplash?
You don’t need glue for MuralSplash. The material has adhesive on the back. You can use this adhesive after removing the protective film from the adhesive side.
Is MuralSplash Washable?
The material can be wiped clean with a damp cloth. You don’t have to worry about damaging the wallpaper. MuralSplash has a protective layer on the surface.
Is MuralSplash Water-Repellent?
The material has a protective layer, making it water-repellent and excellent for use in a kitchen or bathroom.
Is the Material Resistant to Cooking Oil?
MuralSplash can withstand a bit of cooking oil. Research has shown that the material remains intact even when exposed to oil splatters up to 190 degrees Celsius.
Installation Guide
We are here to assist you in applying your MuralSplash kitchen backsplash. Please read the following tips before you start hanging your wallpaper. Once your MuralSplash is on the wall, don’t forget to share your beautiful results with us.
PLEASE NOTE!
The optimal temperature for applying the wallpaper is between 18 – 25°C, with a humidity of approximately 40% – 65%.
Before applying, make sure the surface is clean and free of grease.
Step 1: Preparation
If applicable, turn off the electrical circuits for wall outlets and switches, remove the frames, and tape them. Next, remove any old wallpaper if necessary. Ensure that the wall is smooth by removing nails and imperfections and filling holes with filler. Let the filler dry thoroughly and sand it smooth.
MuralSplash can be applied to a plastered wall or over tiles. We advise against applying it over existing wallpaper. The adhesive of MuralSplash is strong, and the wallpaper will stick to the adhesive, making it difficult to correct.
Step 2: Unroll and Apply
Unroll the wallpaper and check for any damage.
The material has adhesive on the back. To apply your MuralSplash, remove a portion of the protective plastic from the adhesive side.
Start either in the top left or top right corner. If you ordered the wallpaper with extra margin (2-5 cm extra all around), make sure to leave a bit on both the sides and the top. You can trim this later with a knife. This ensures that the wallpaper fits neatly on the wall even if your wall is uneven.
Work from left to right or vice versa, gradually removing a small section of the plastic from the adhesive and applying it to the wall.
Step 3: Finishing
Finally, press the backsplash firmly to the wall. After this is done, you can trim the excess. To do this, use a sharp (!) utility knife or Stanley knife and a cutting ruler. You can also cleanly cut around electrical outlets, taking care not to damage the wiring.
Finally, remove the protective film from the front of your wallpaper and clean the wallpaper with a damp cloth.

